


MagCAD Bosch Intuvia E-Stem 100 Mount
Mount the Bosch Intuvia 100 e-bike display above your stem with this MagCAD Mount.
What's Included
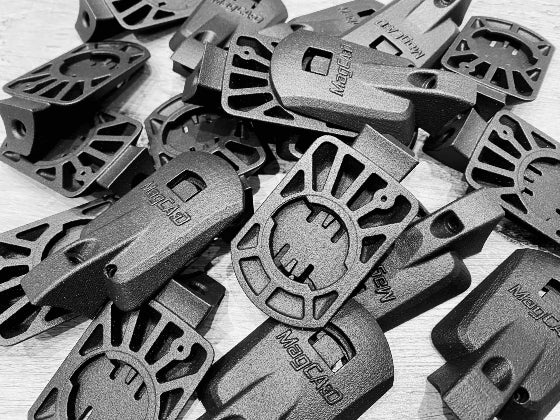
- 1x 3D printed mount.
- 1x M3x20mm cap screws.
- 1x M3 Nyloc nut.
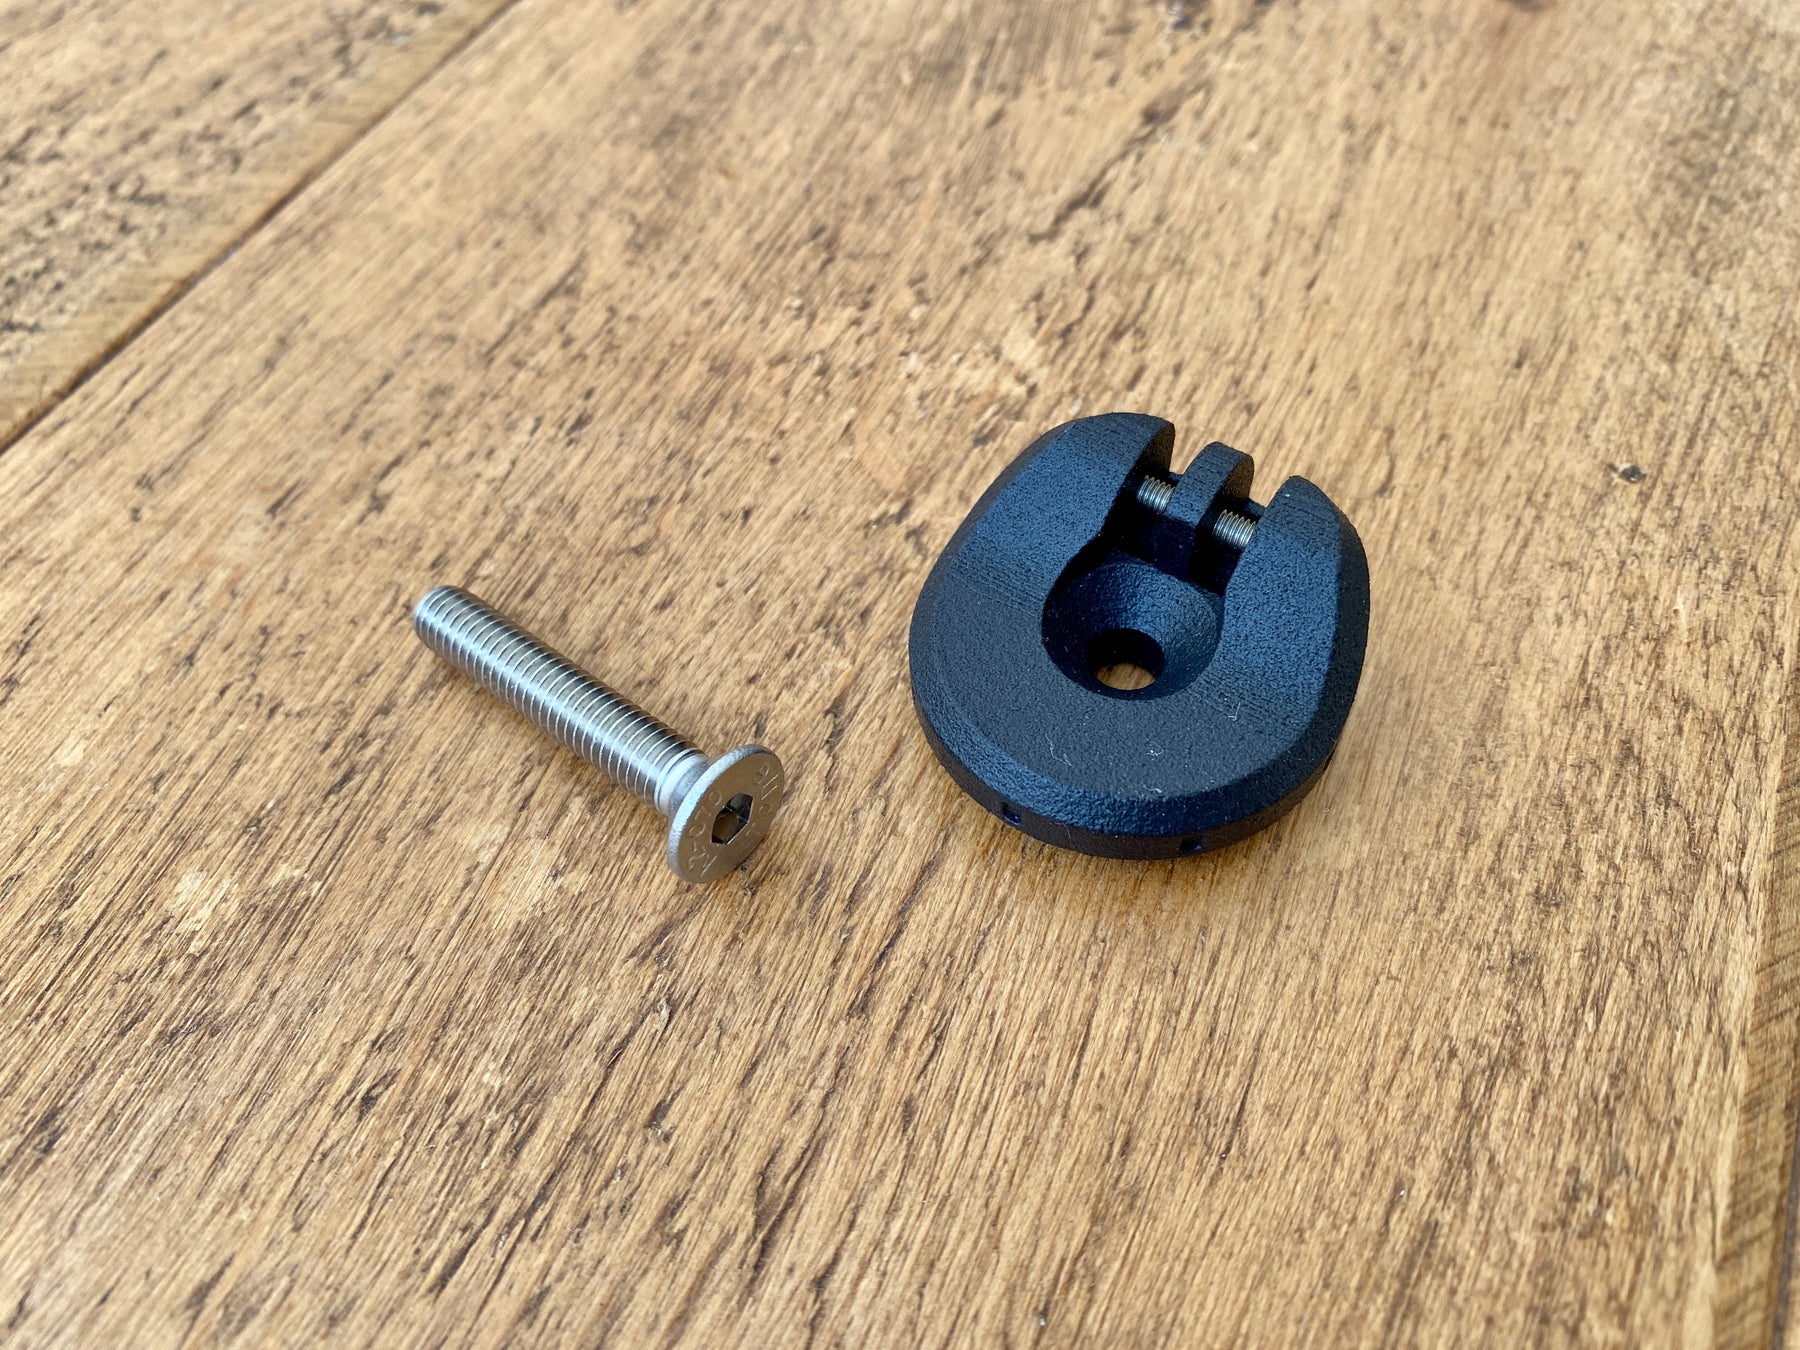
- 1x M6x35mm countersunk screw.
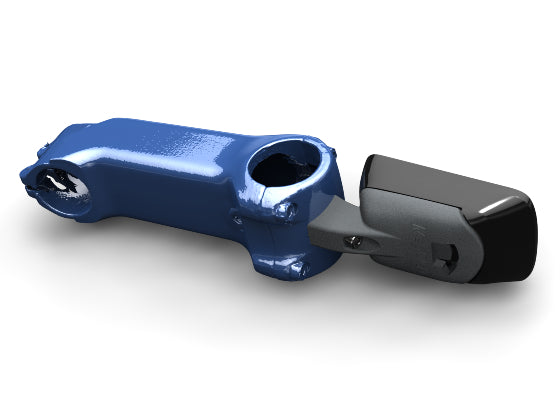
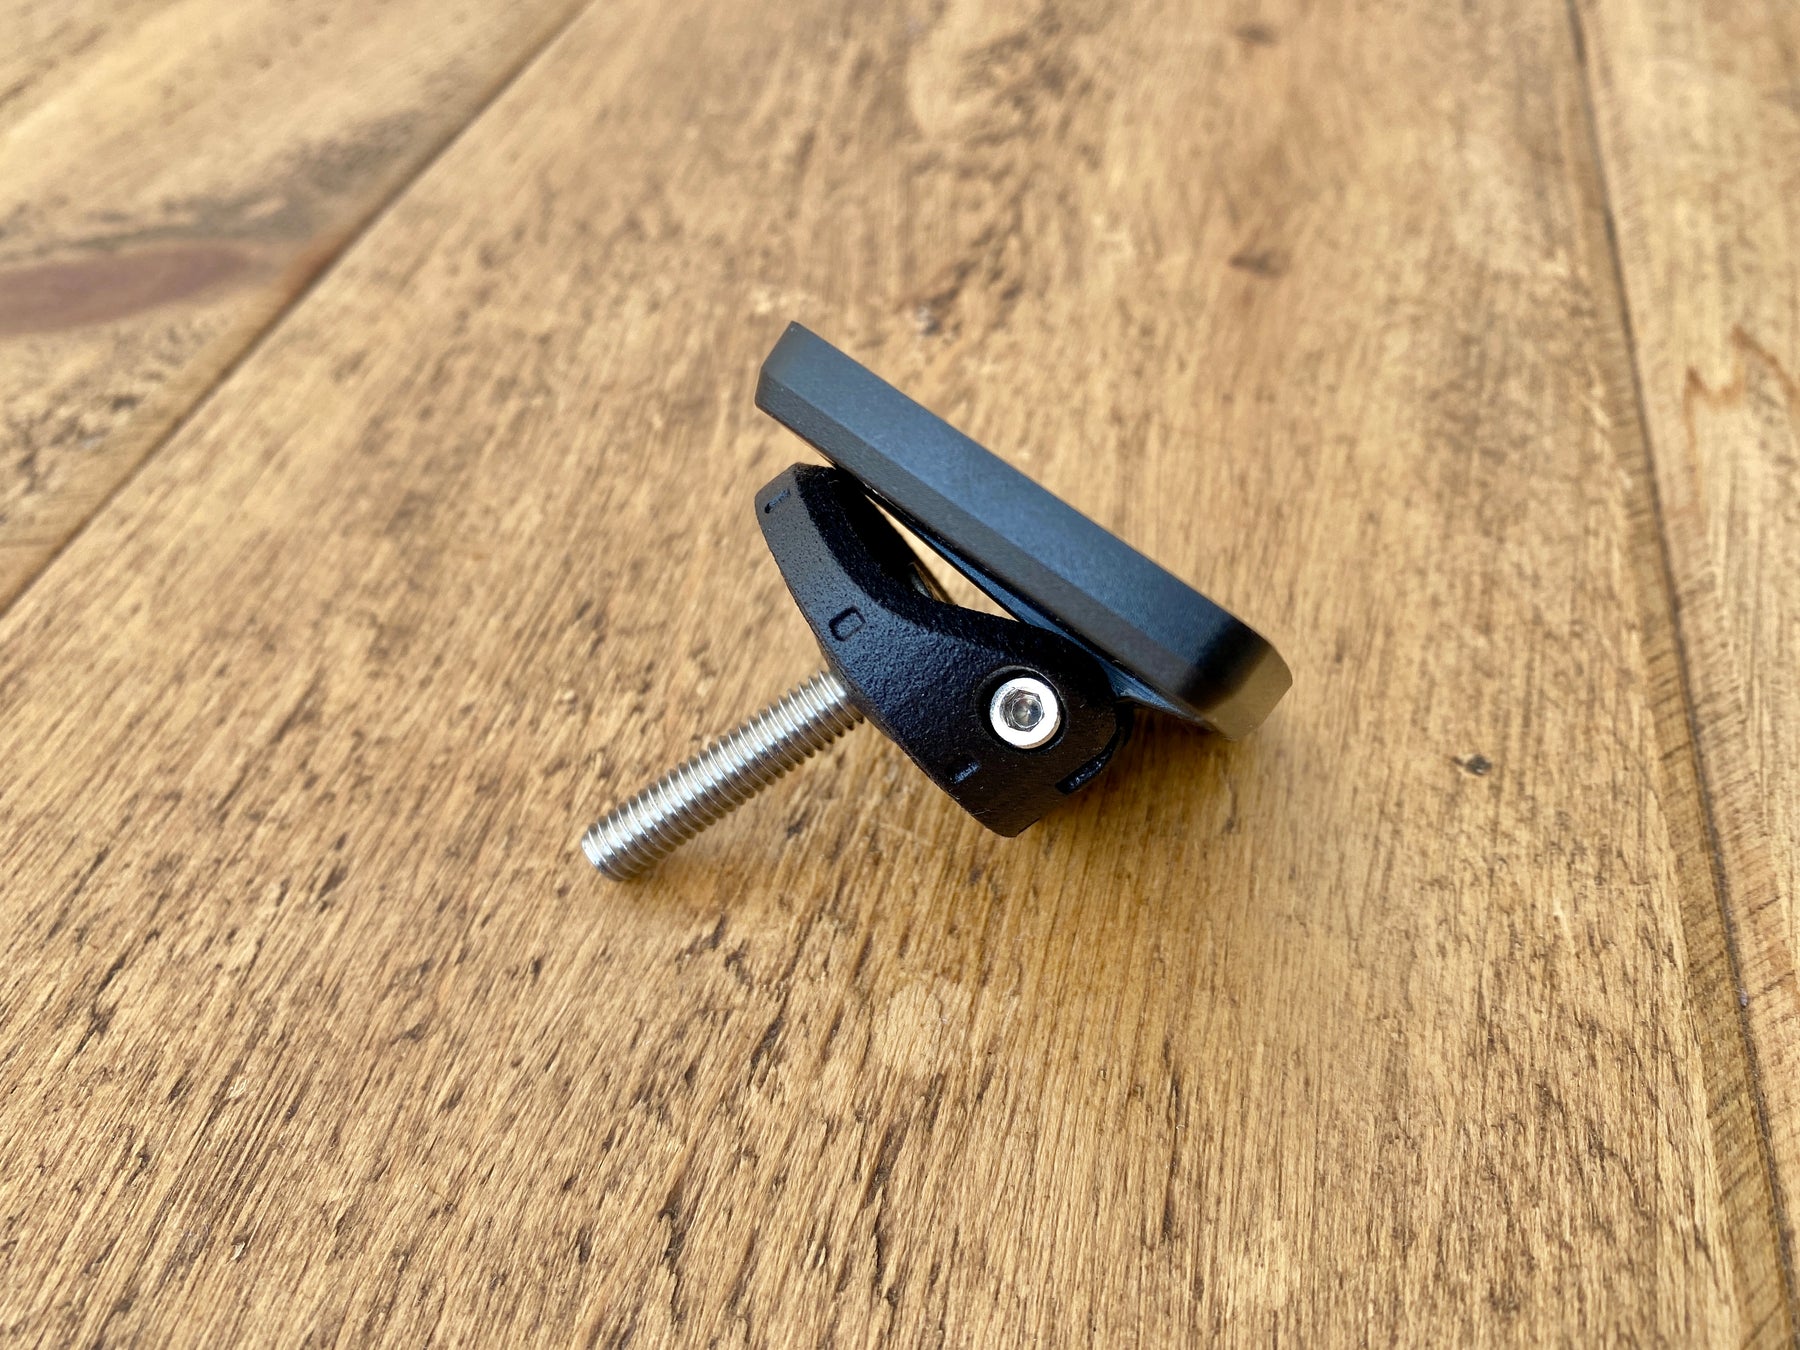
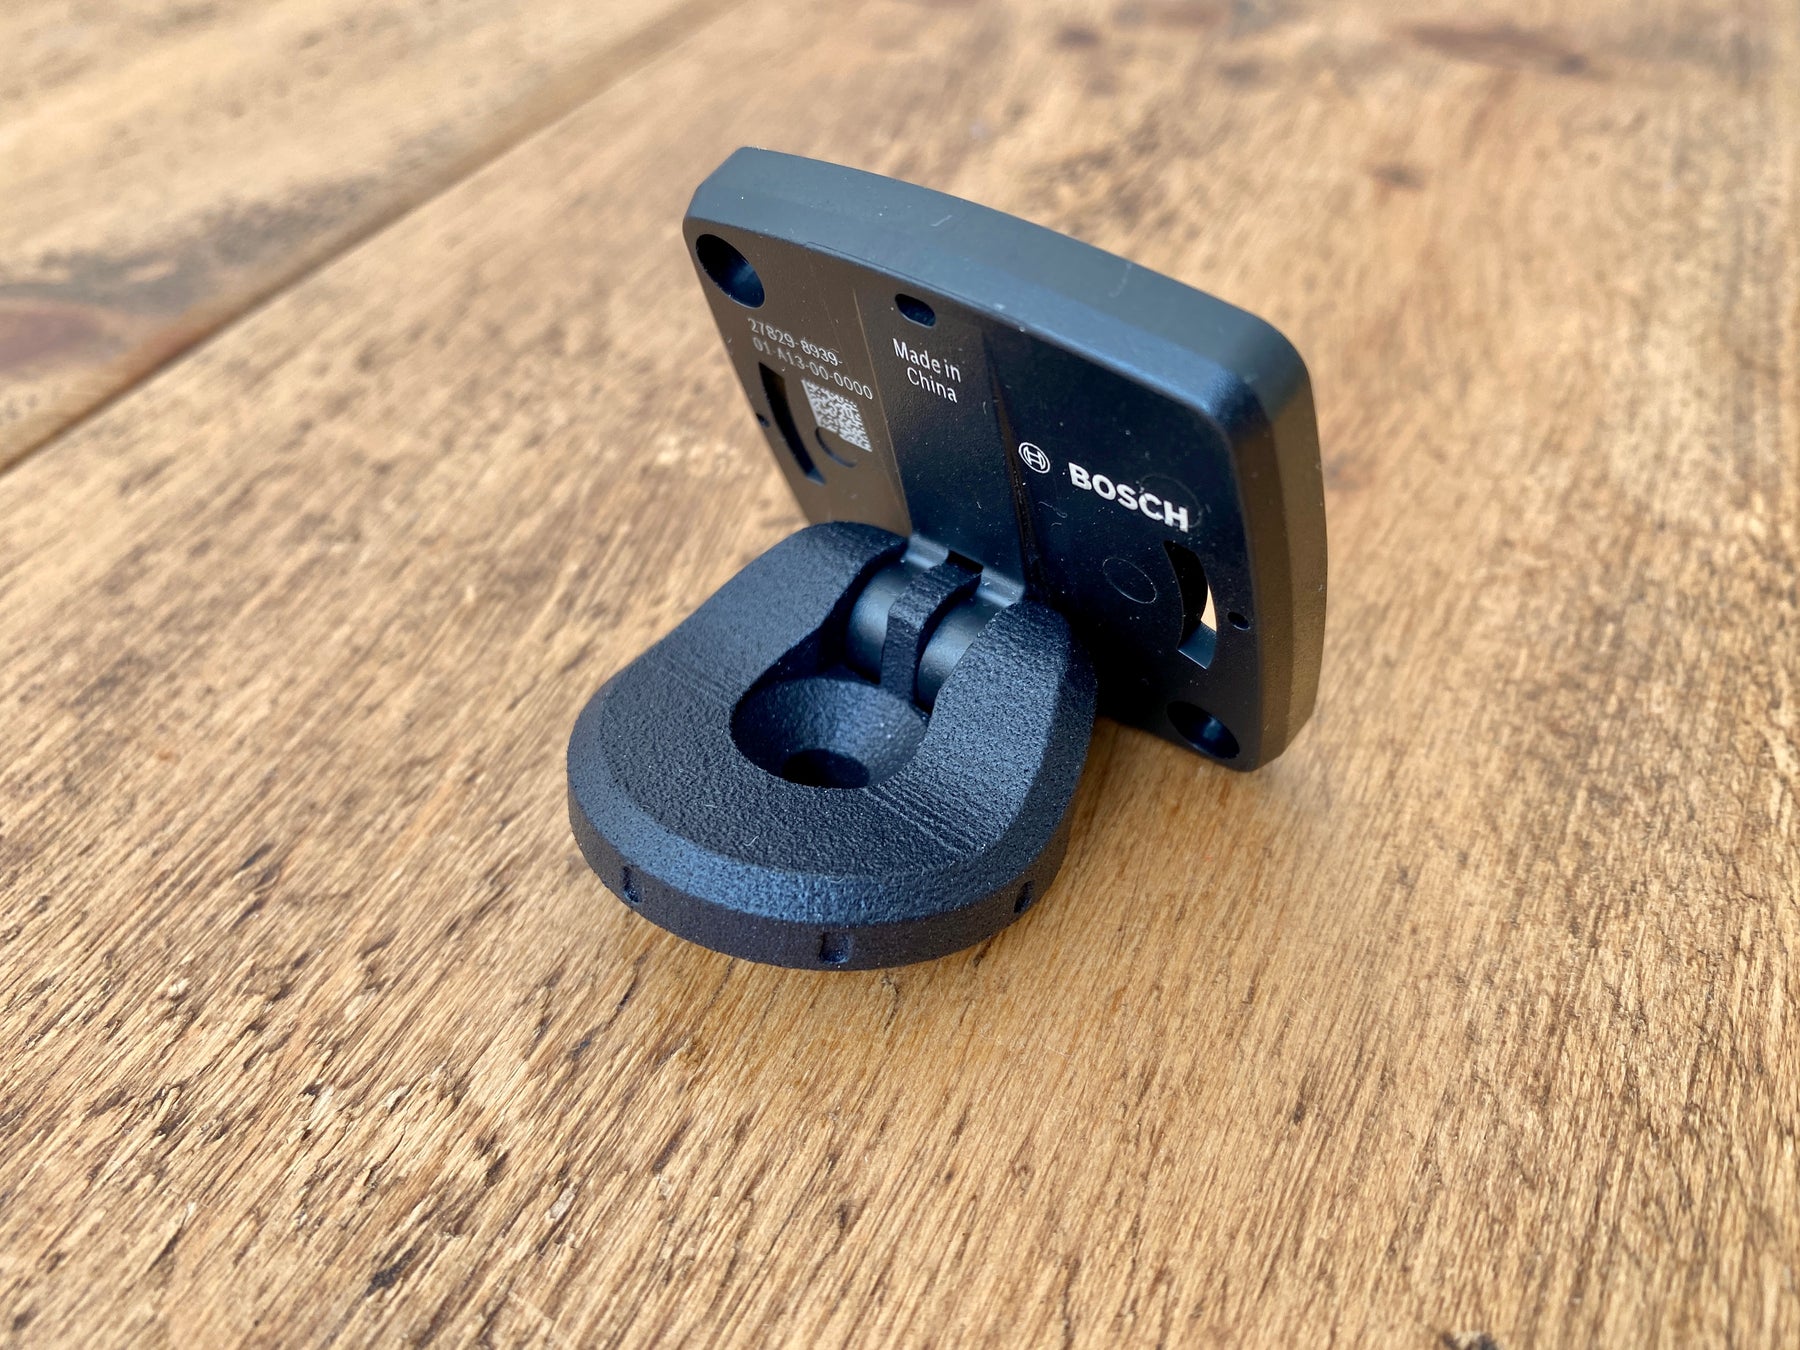
Please Note: The Bosch Intuvia 100 Interface (Code: EB1310000N) is pictured here for reference only and not included. The interface is part of the OEM handlebar mount that comes with your e-bike or can be purchased as a spare part from your local Bosch dealer.
Overview
This mount is a collaboration with our friends at True North Cycle Hub in the Peak District, specialists in e-bikes and all things MTB.
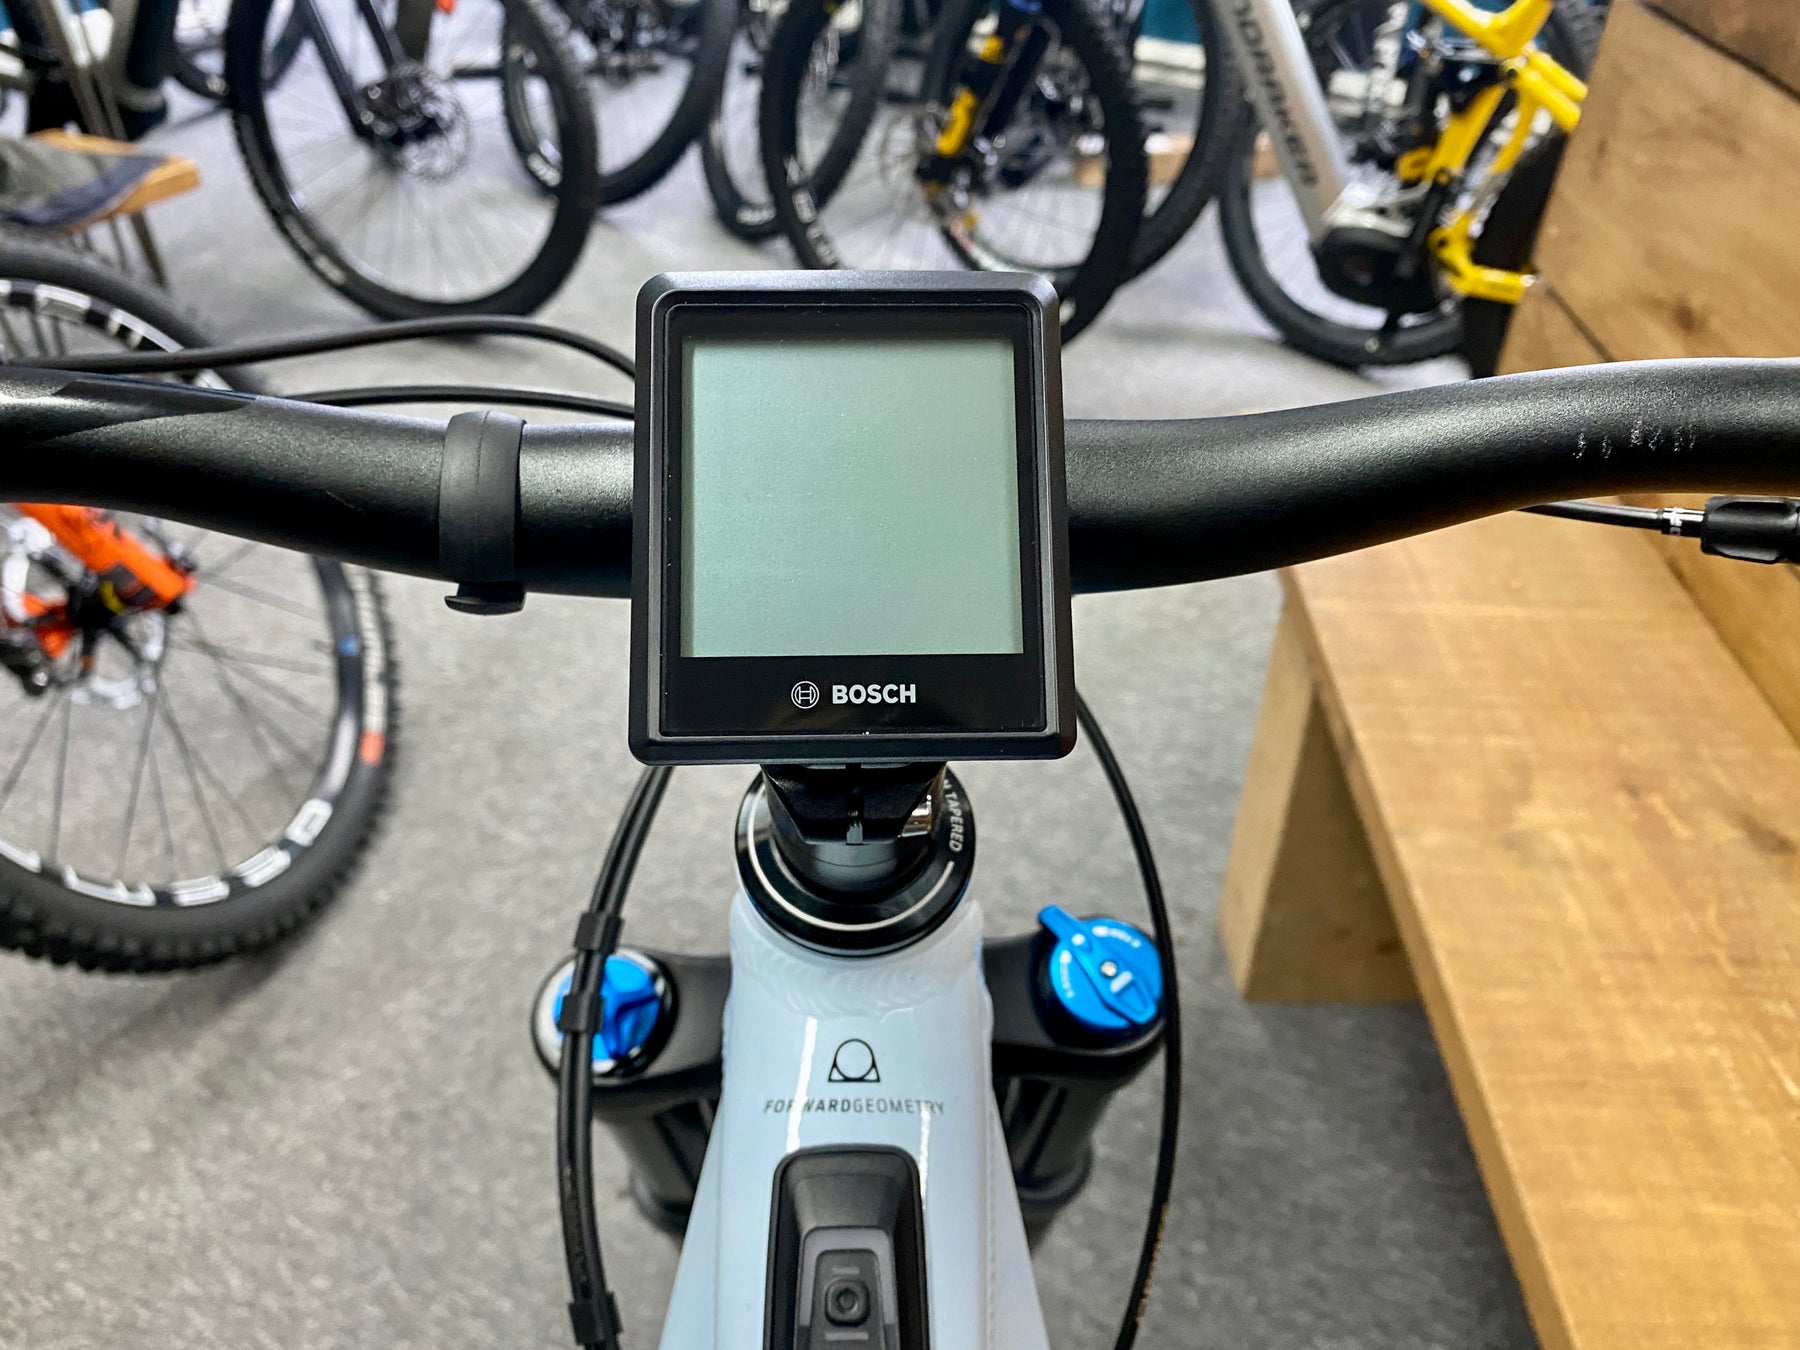
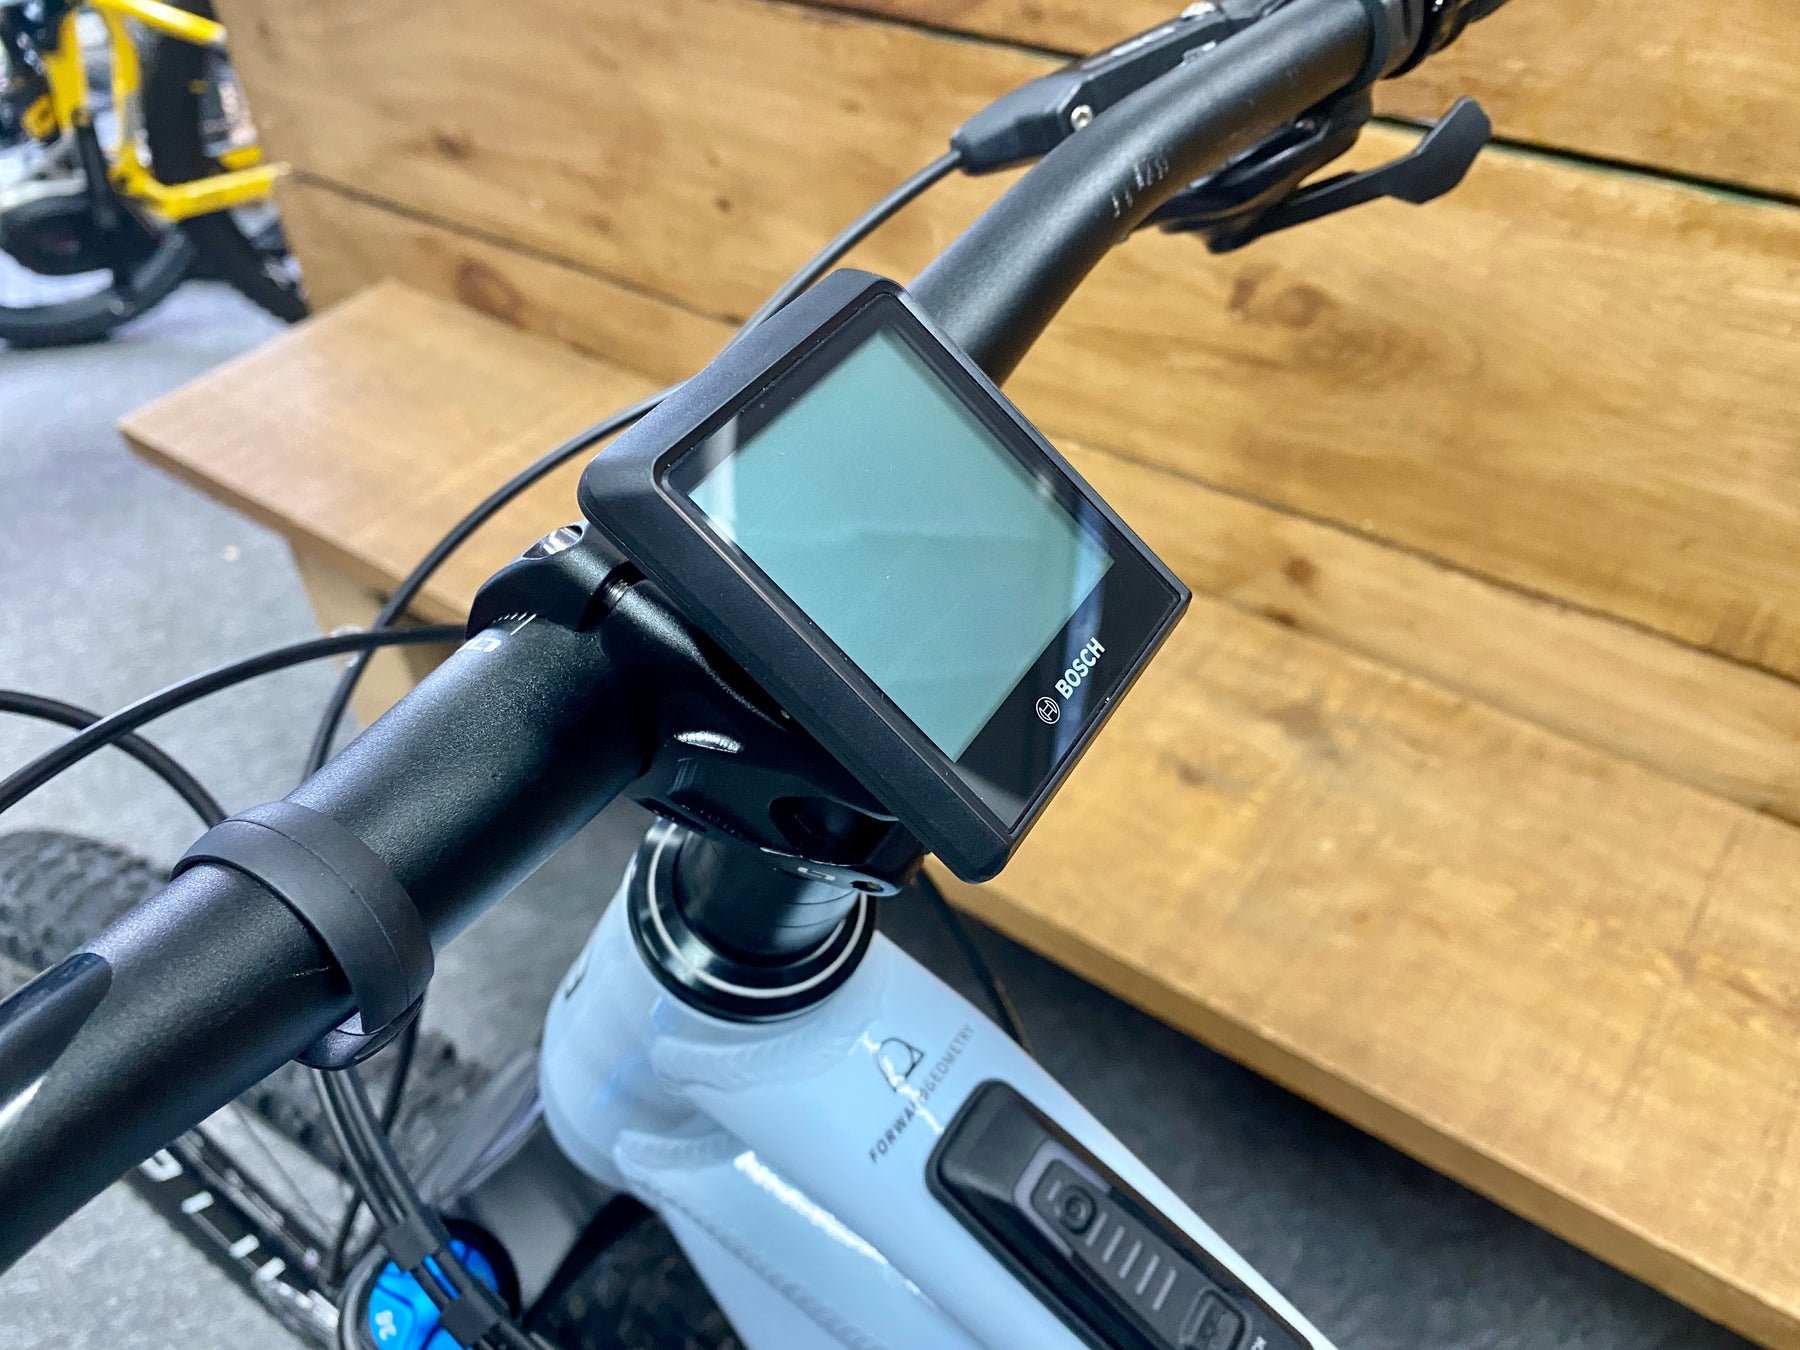
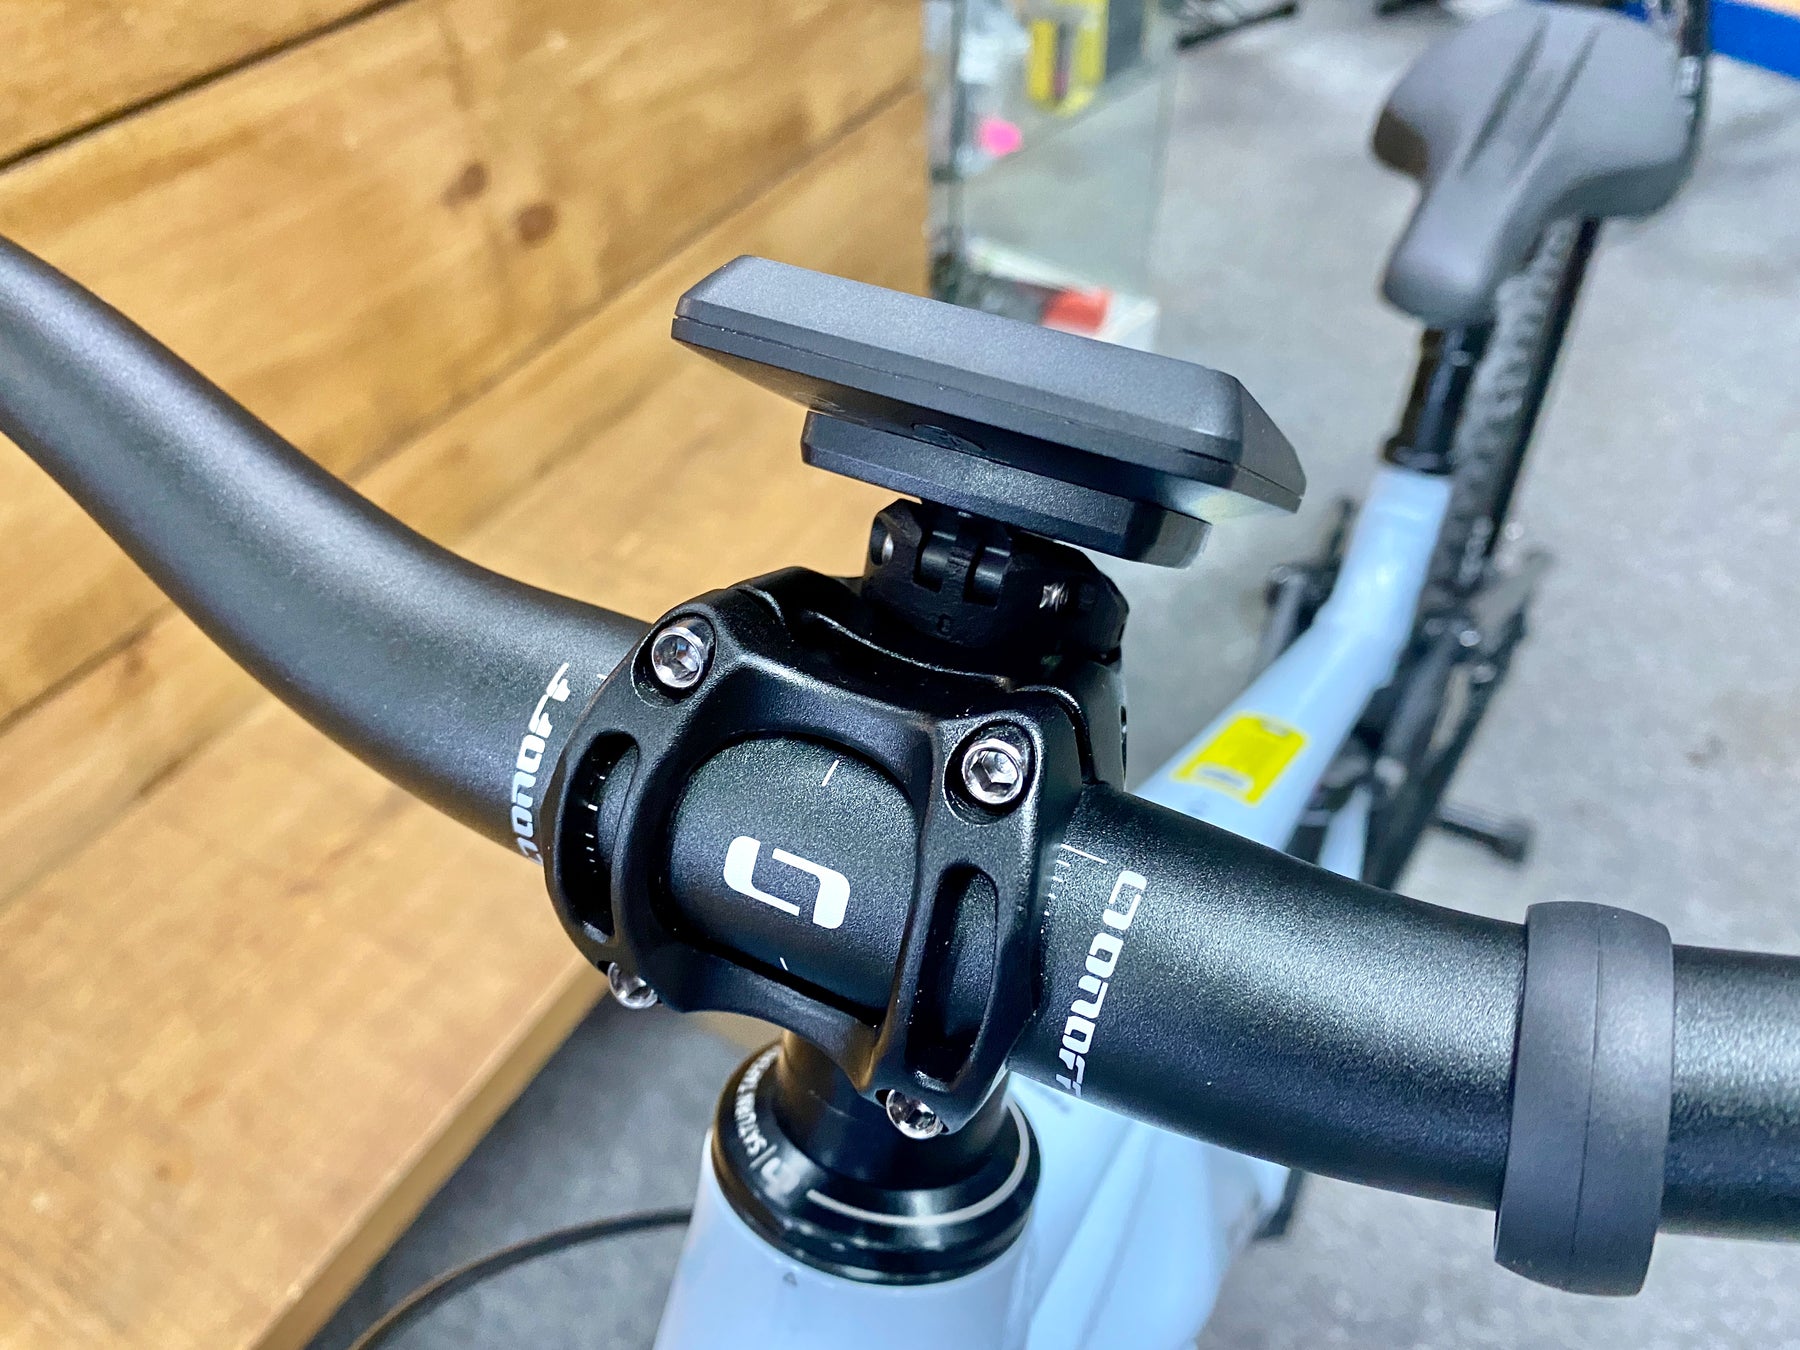
The mount allows you to position the Bosch Intuvia 100 e-bike display above your MTB stem, removing the requirement for the fairly bulky and unsightly stock handlebar mount. The stem position allows clear sight of the Bosch display whilst keeping the unit better protected from dirt and debris.
Developed in some of the best and harshest MTB terrain in the UK, the MagCAD mount is extremely robust, designed to out-perform and out-last other display mounts and keep your device secure.
Application
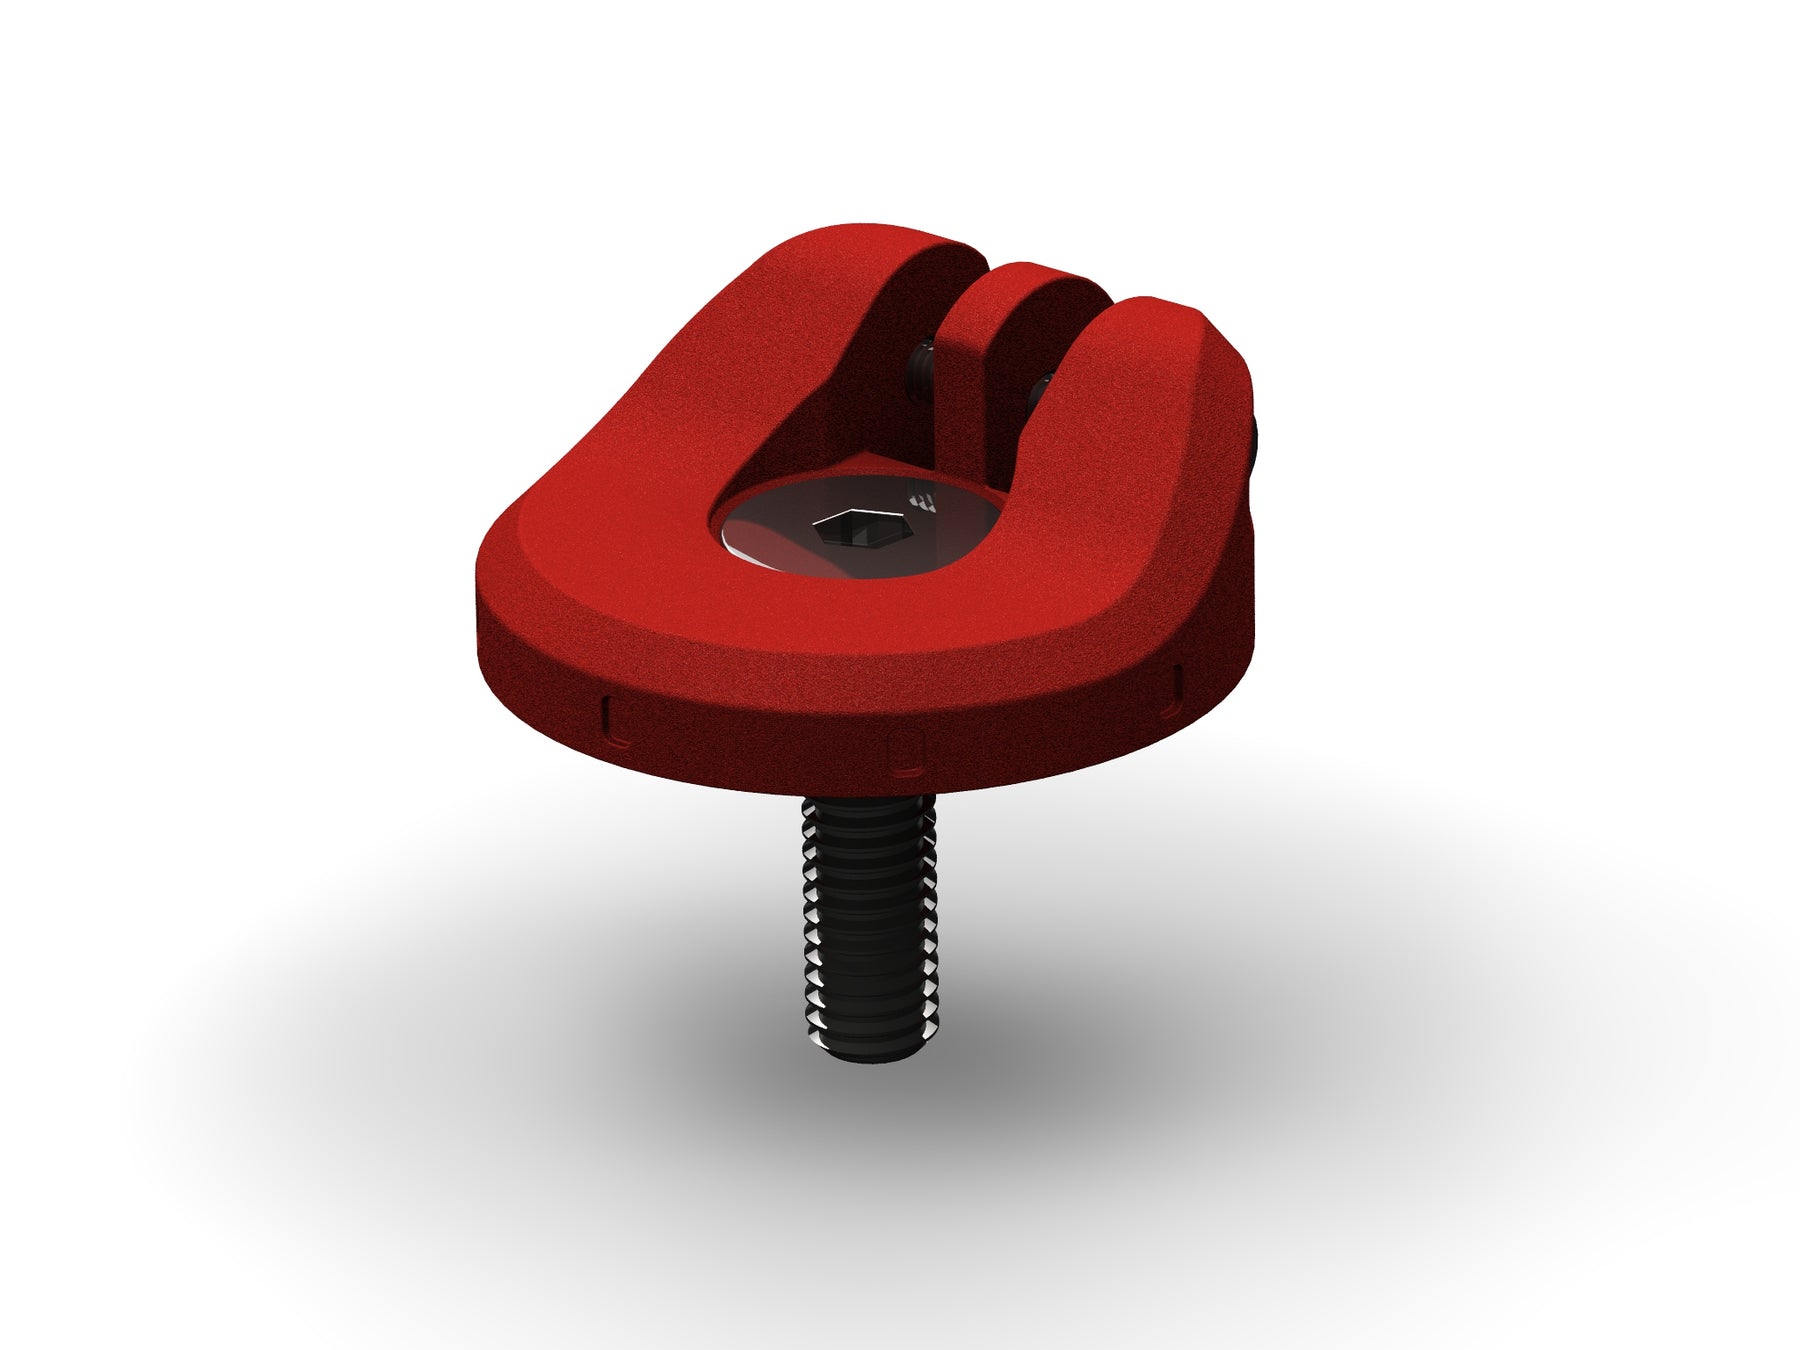
This MagCAD mount has been designed to suit as many MTB stems as possible, irrespective of stem length or angle. The mount can be fitted directly on top of the stem or position raised with a steerer spacer underneath.
To fit the MagCAD mount follow the below instructions. As with any steering related component they should be installed by a competent mechanic and inspected regularly. Incorrect assembly or mis-use may result in damage to the headset components.
Removing and separating the Bosch Intuvia 100 interface:
- Remove the Bosch Intuvia 100 display from the OEM handlebar mount with a quarter turn counter-clockwise.
- Remove the OEM handlebar mount from your bike by loosening and removing the securing screw.
- Separate the Bosch Intuvia 100 interface from the OEM handlebar mount by loosening and remove the screw in the end of the mount.
- The OEM handlebar mount is no longer required. The Bosch Intuvia 100 interface will be attached to the MagCAD mount.
Fitting the MagCAD mount:
- Loosen your stem top cap bolt, typically with a 5mm Allen key. You do not need to loosen the stem bolts that secure your stem to the fork steerer.
- Remove the stem top cap and bolt, these are no longer required.
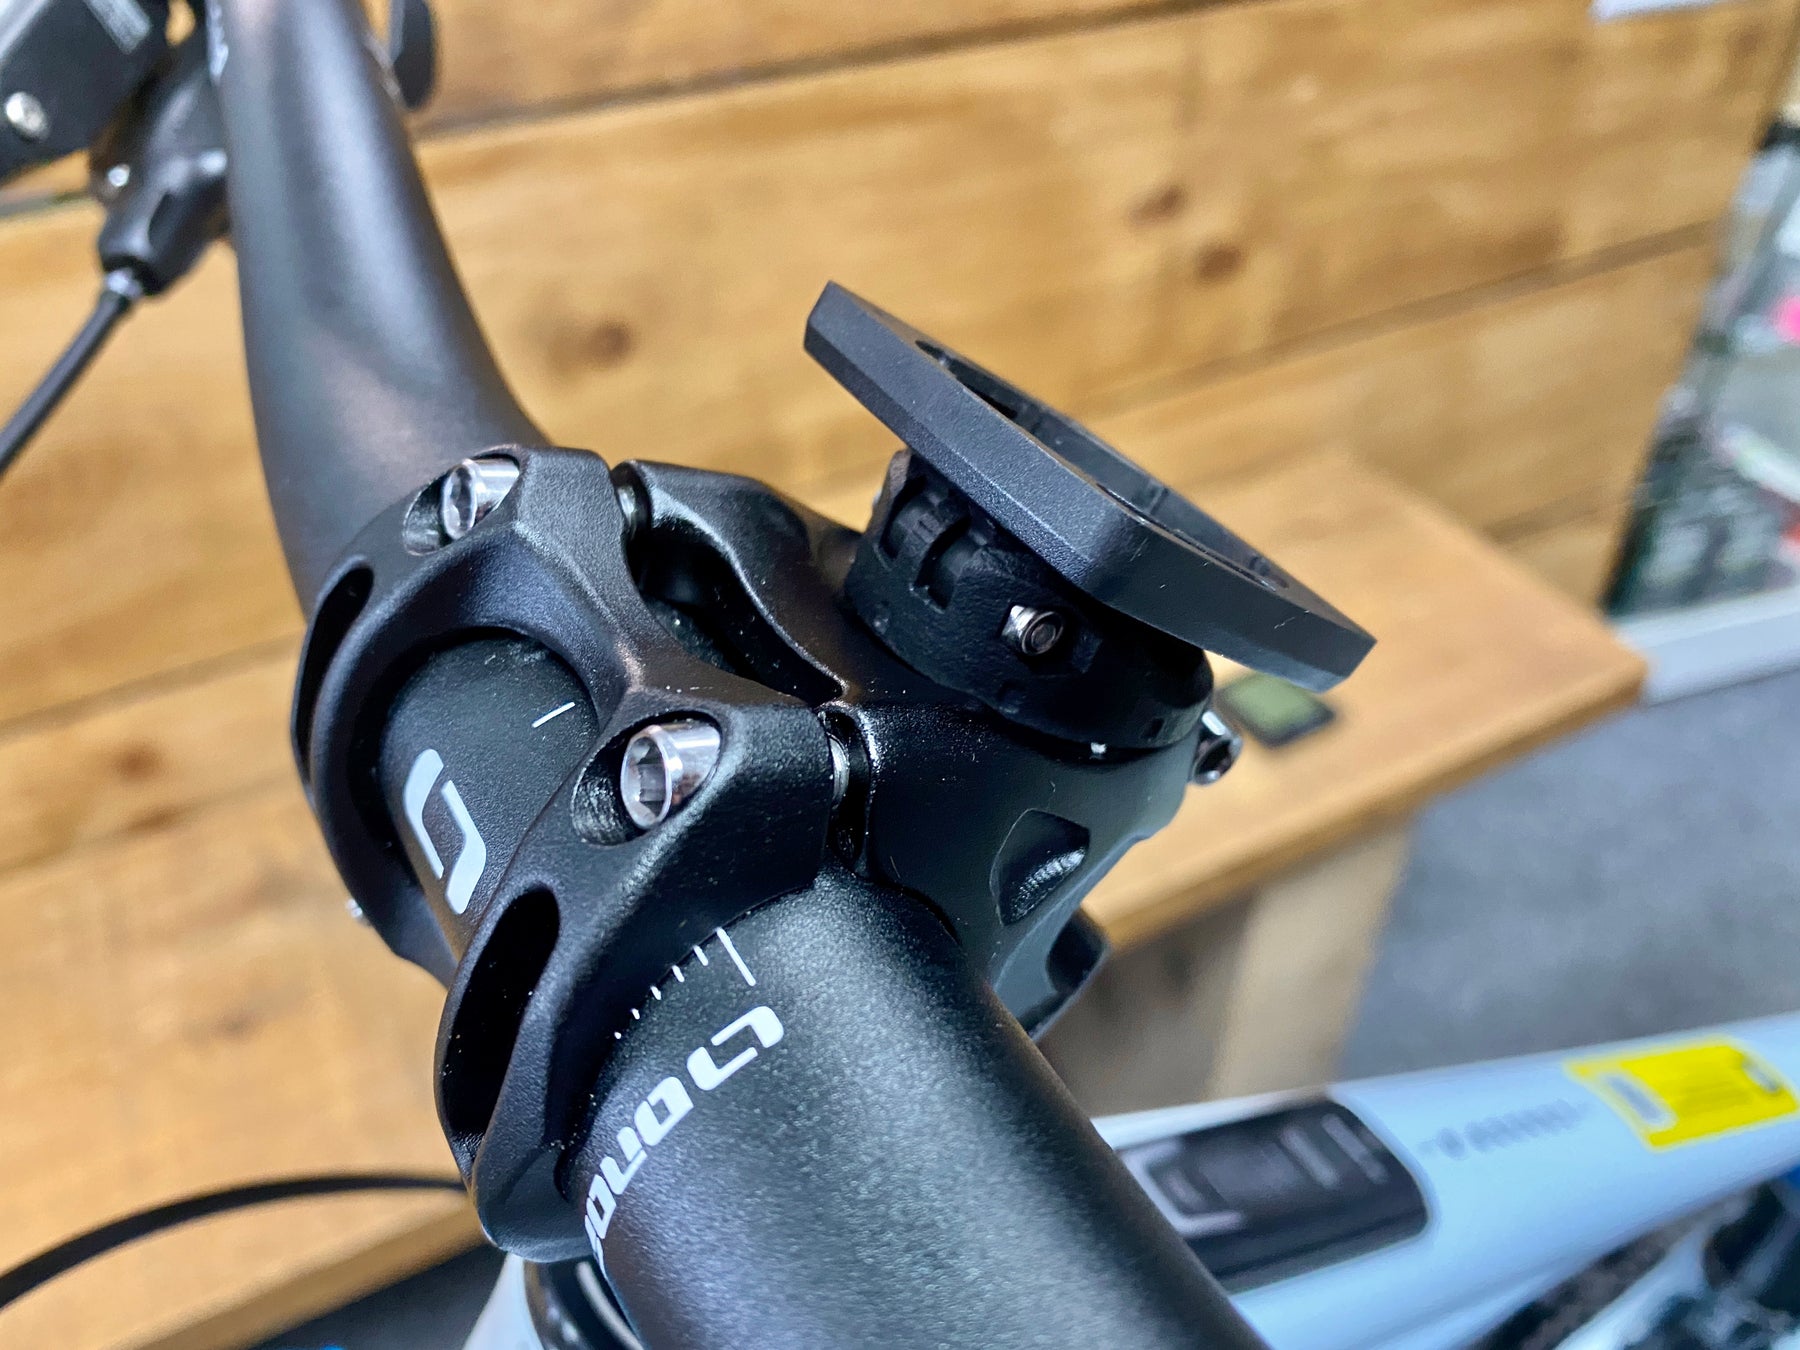
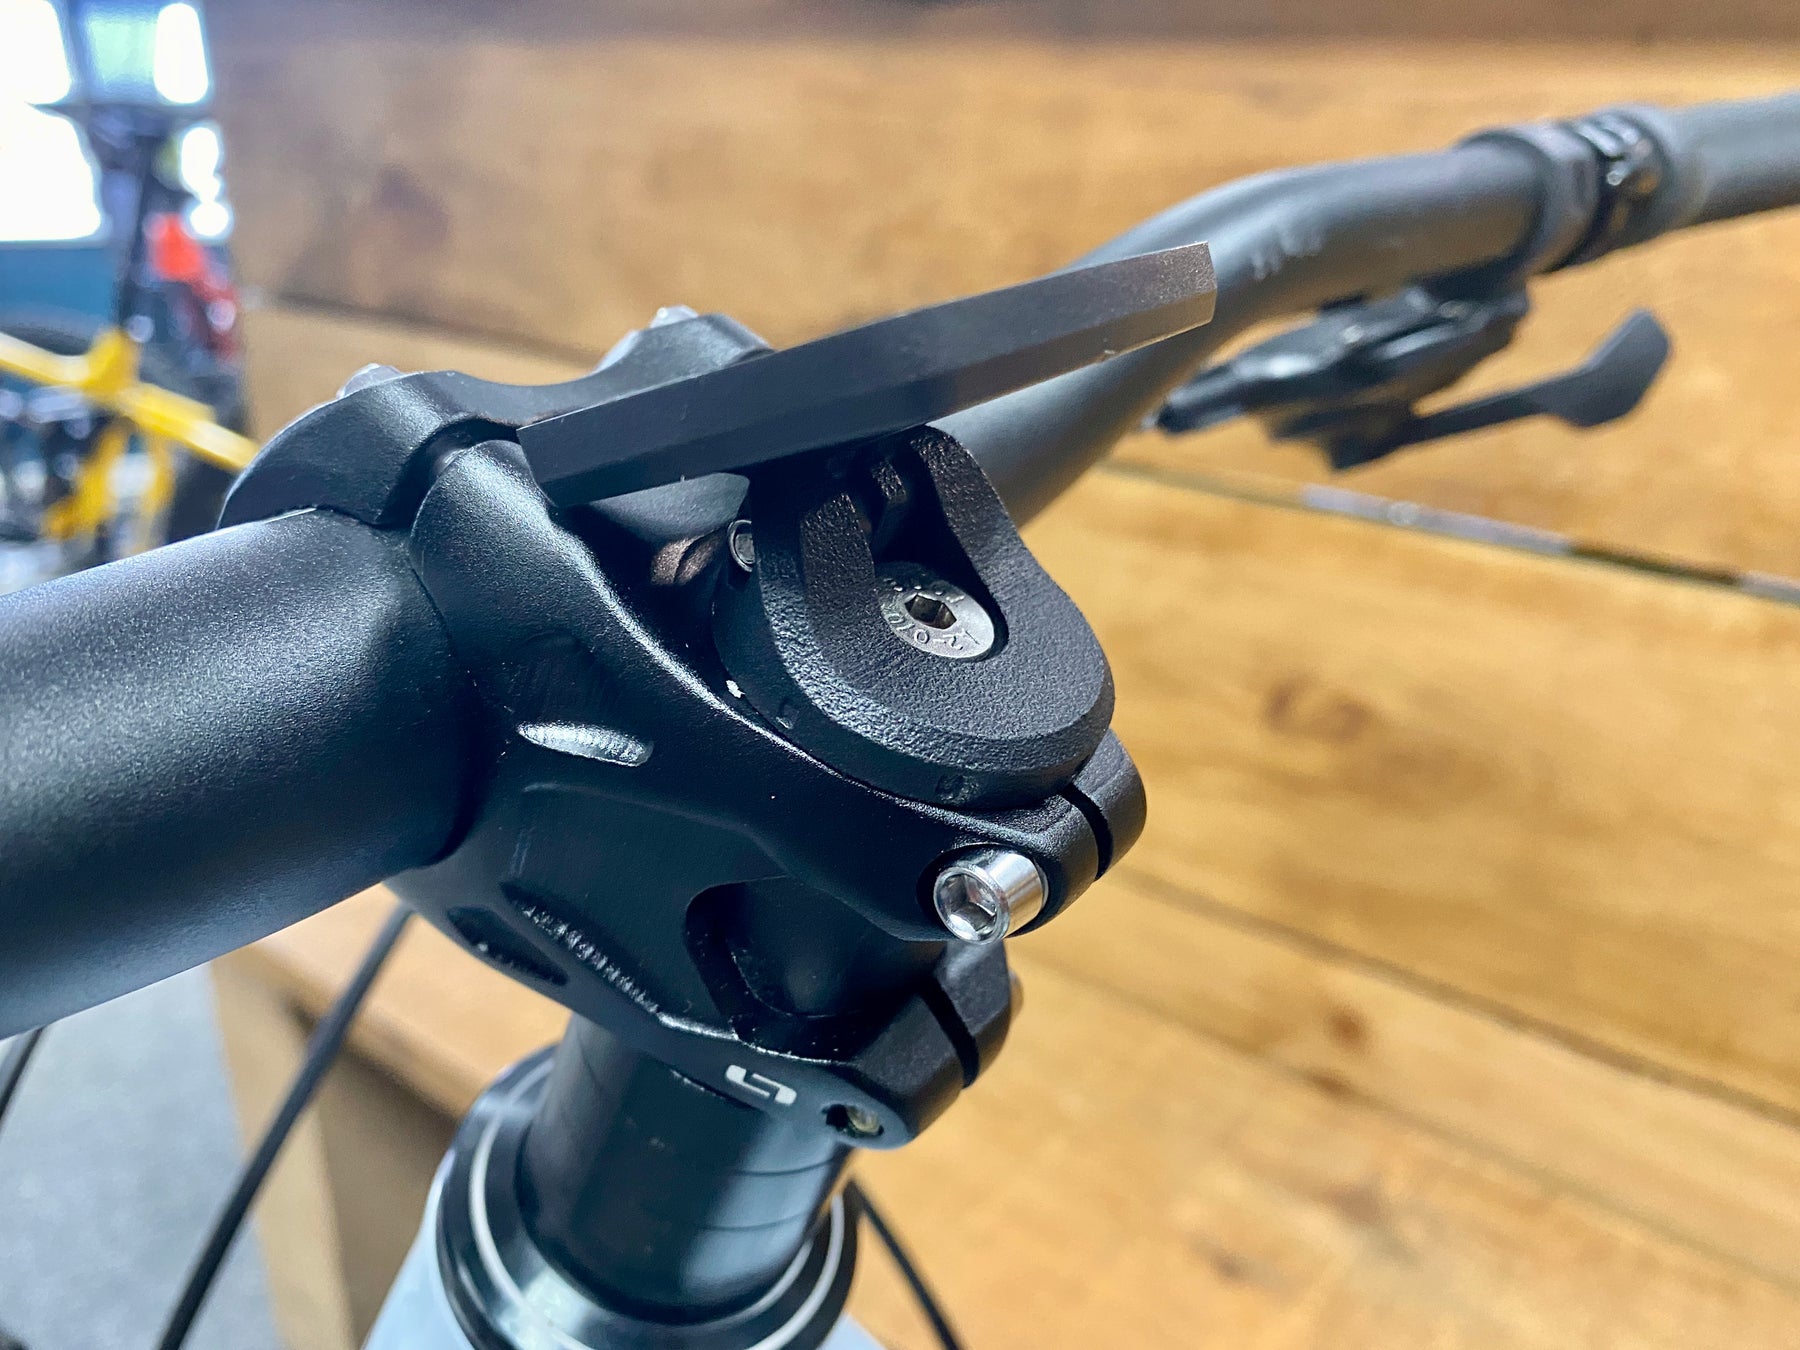
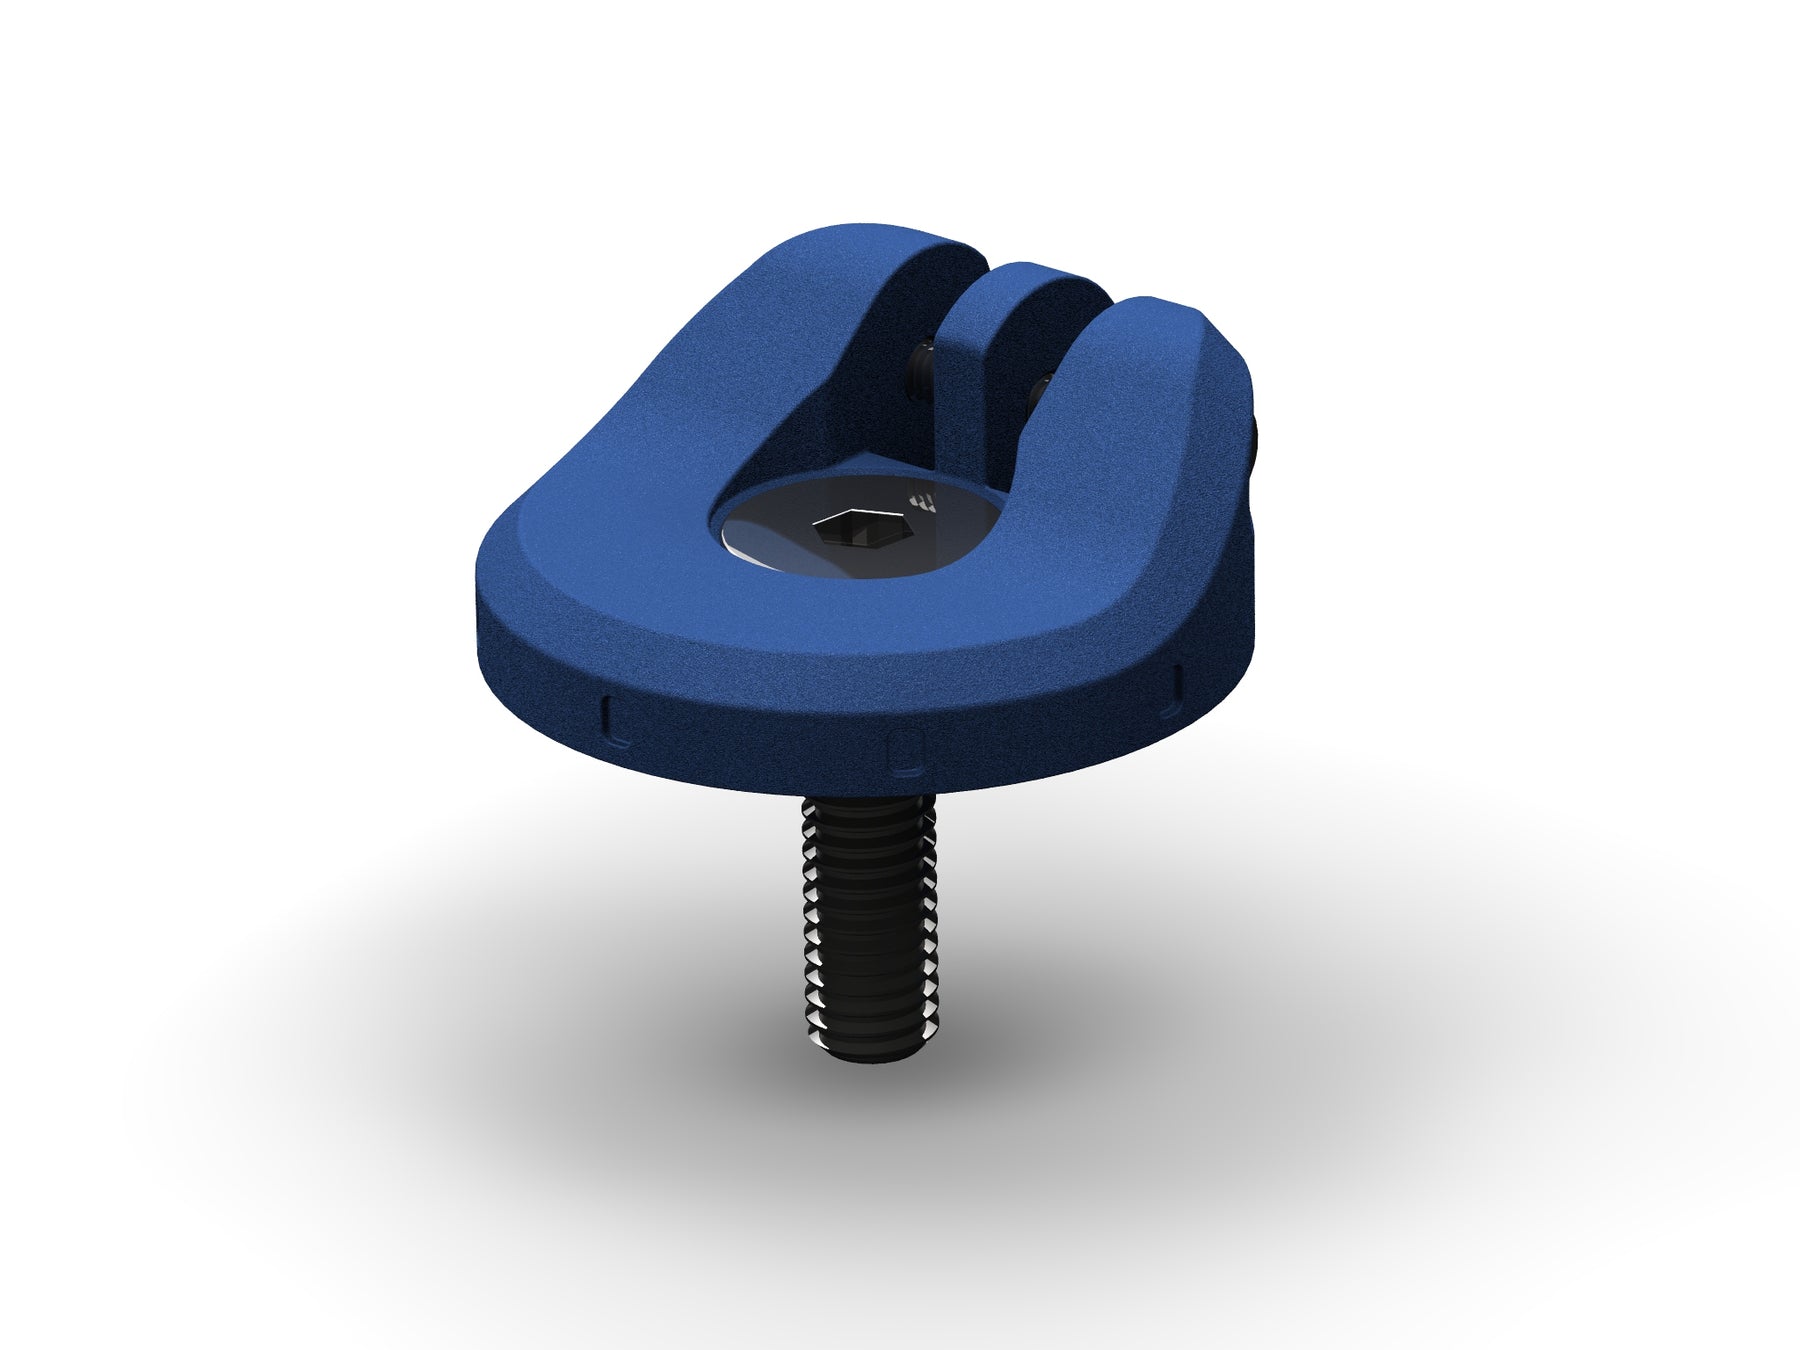
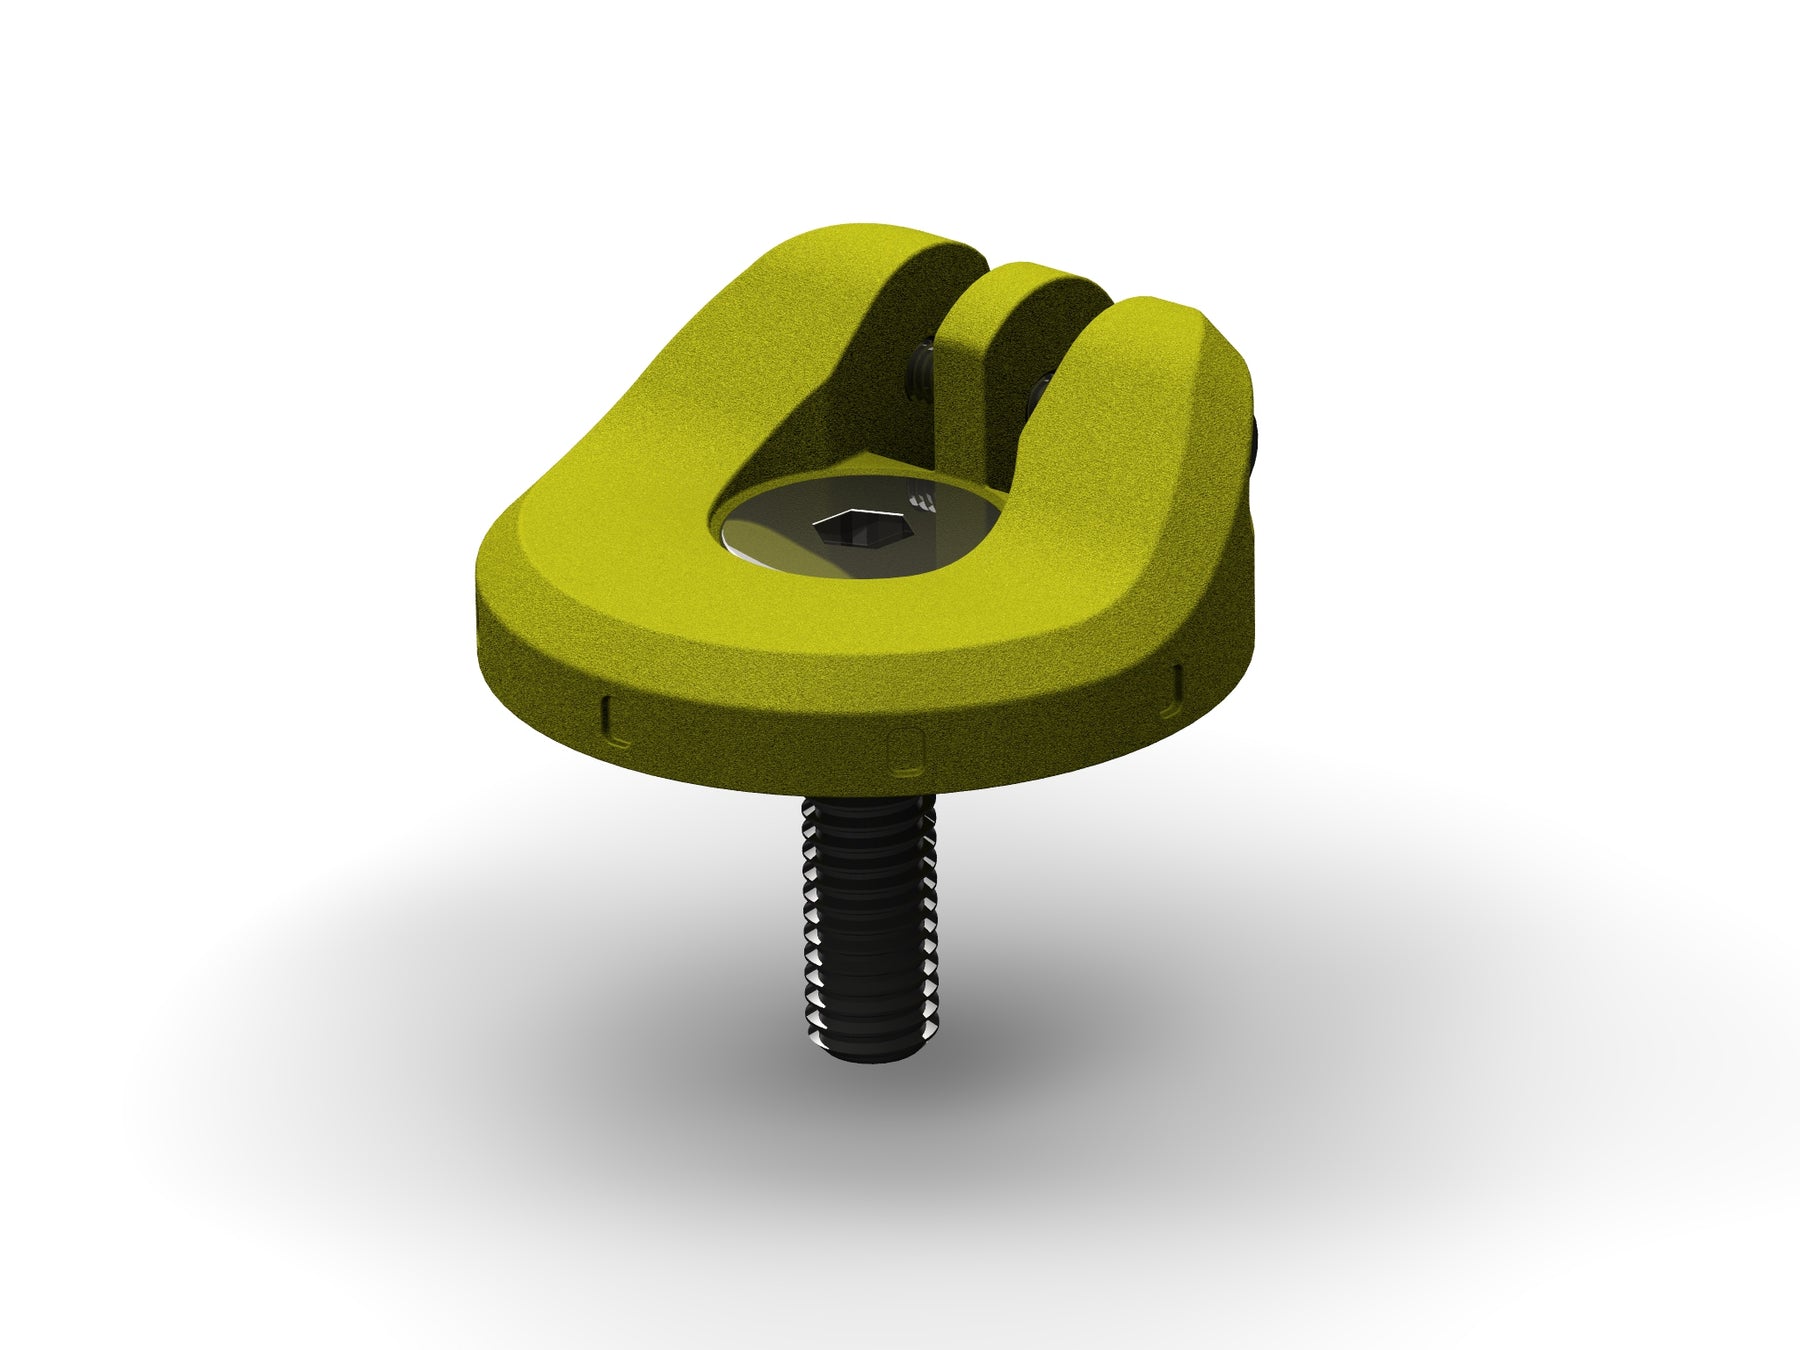
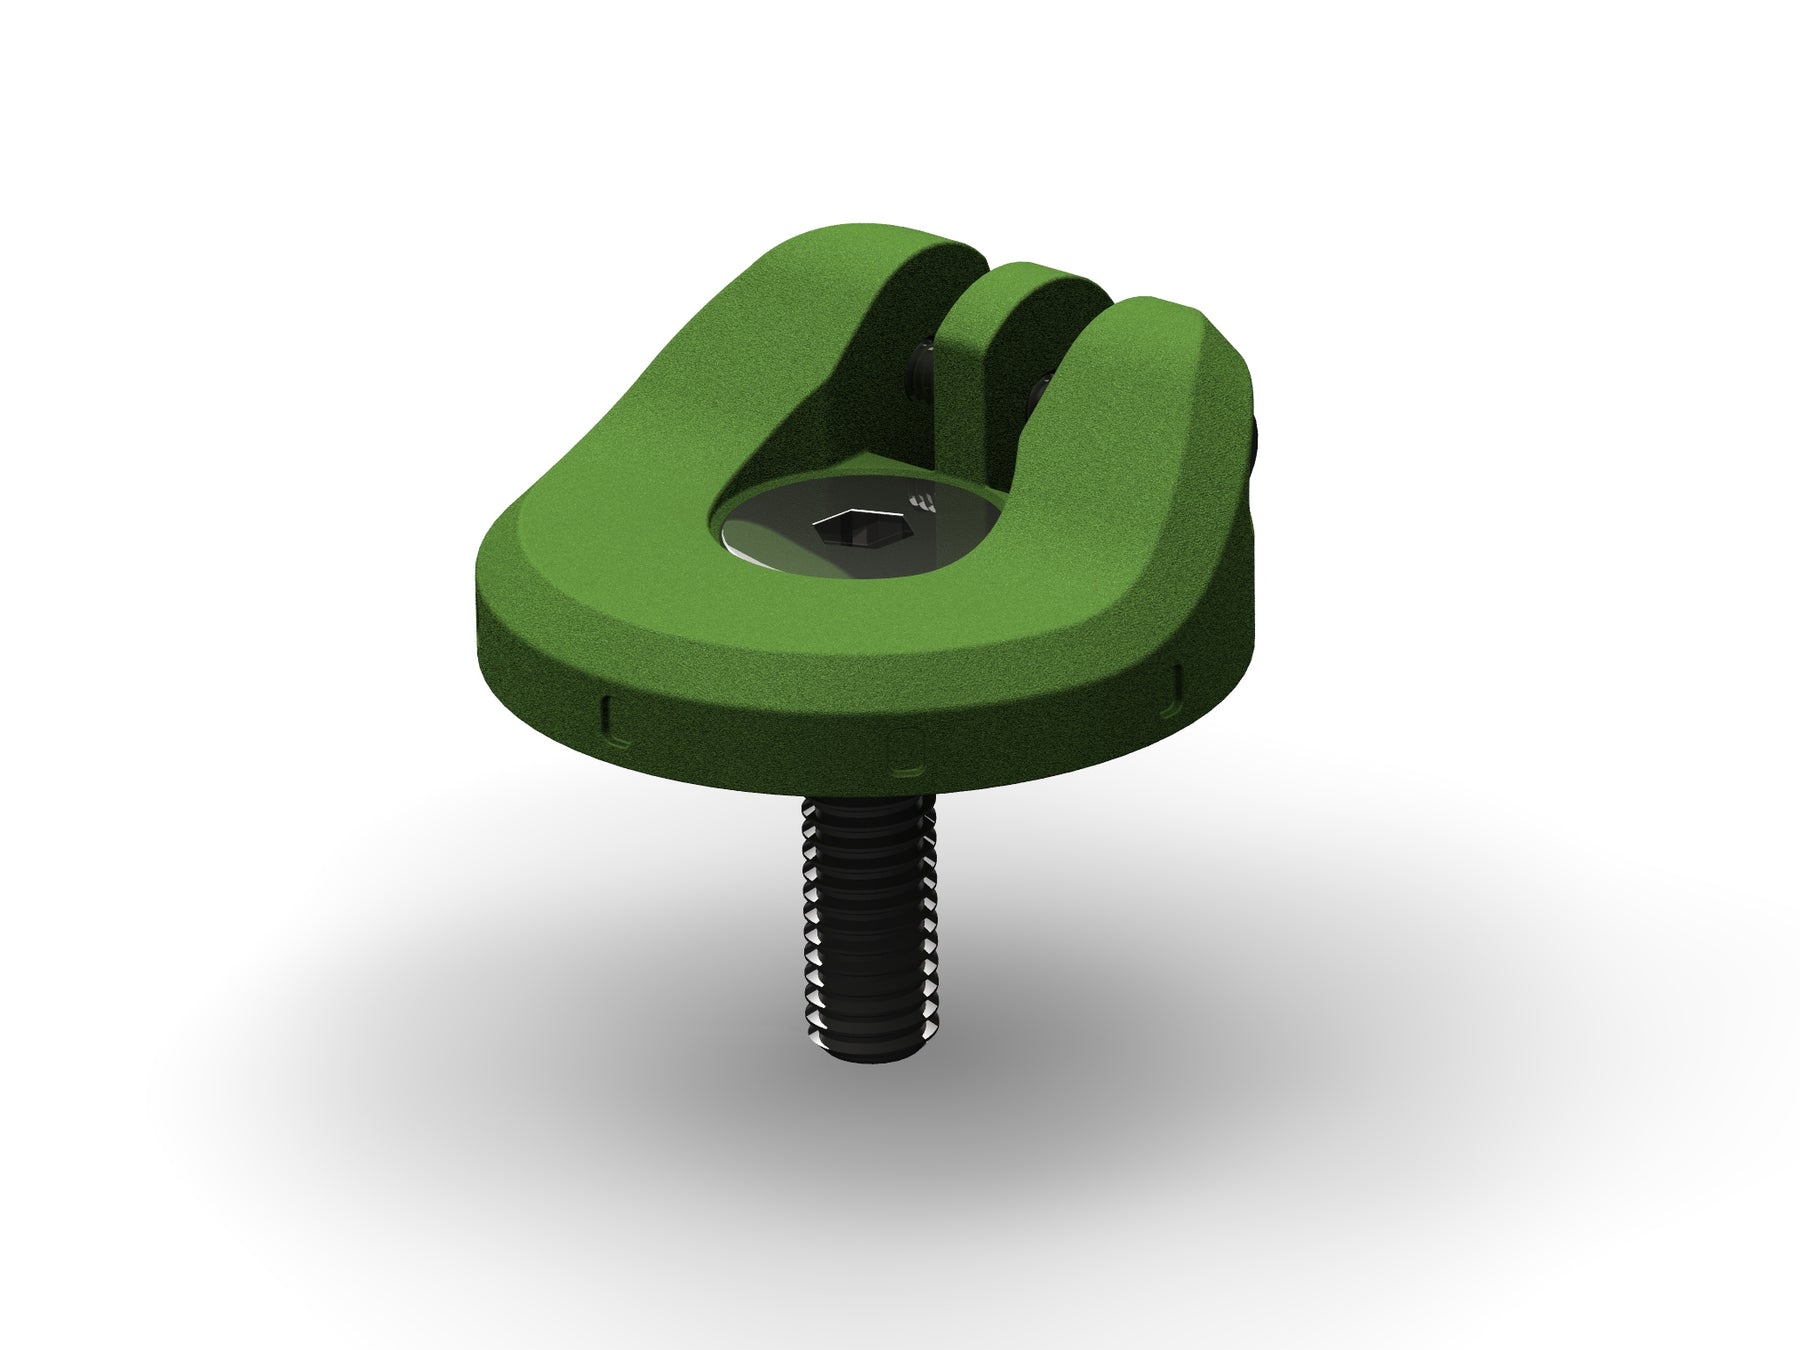
- Fit the MagCAD mount and supplied M6 countersunk screw with a 5mm Allen key. The MagCAD mount can be positioned two ways; with the lug at the top (12 o'clock) or with the lug at the bottom (6 o'clock) depending on which gives you a better screen position.
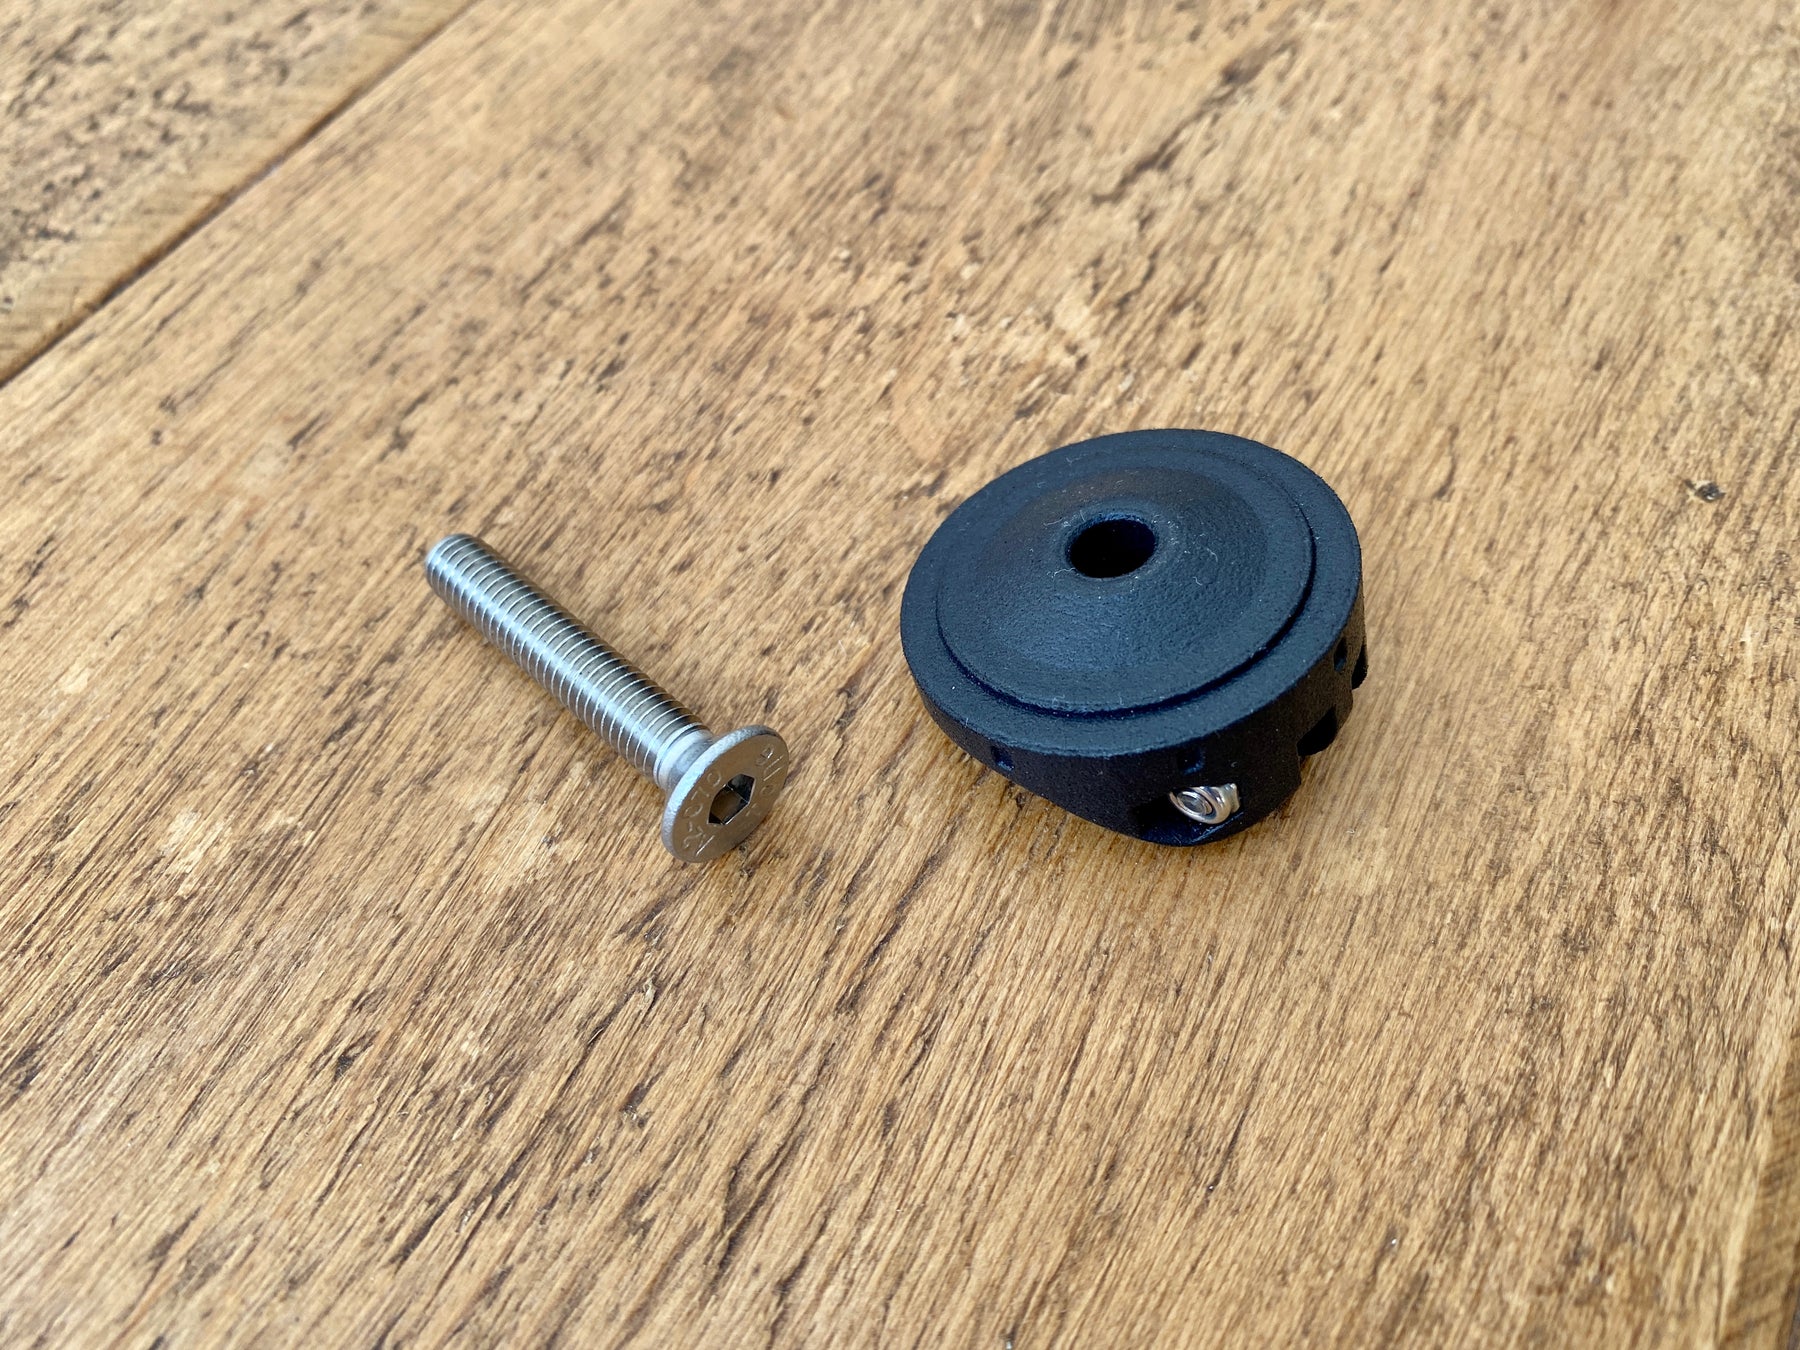
- Align the MagCAD mount with your stem and handlebars. The small indents around the circumference of the mount can help visually align the mount.
- Torque tighten the M6 countersunk screw following the normal manufacturers instructions, without overtightening. Typically this torque value is around 1-1.5Nm but should not exceed 3Nm.
Attaching the Bosch Intuvia 100 interface:
- Insert the lug on the back of the Bosch Intuvia 100 interface into the lug on the MagCAD mount.
- Pass the M3x20mm cap screw, supplied, through both items and into the M3 Nyloc nut, supplied, to secure.
- Pivot the Bosch Intuvia 100 interface to your preferred orientation and tighten the M3 cap screw to 0.5-1Nm, until the interface no longer moves.
- Install the Bosch Intuvia 100 display with a quarter turn clockwise.
Compatible With:
- Bosch Kiox 100 Display.
Specifications
- Weight: 7 grams (without hardware).